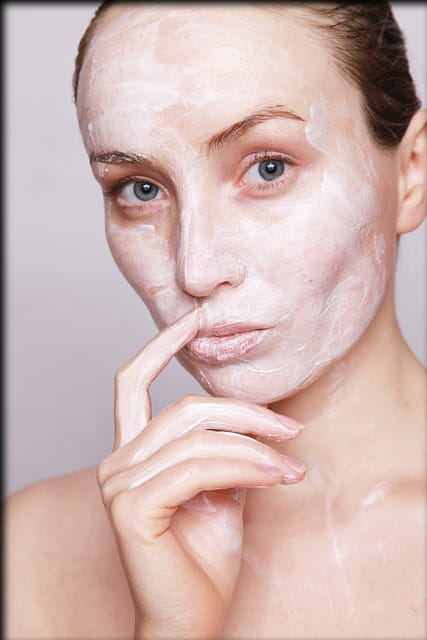


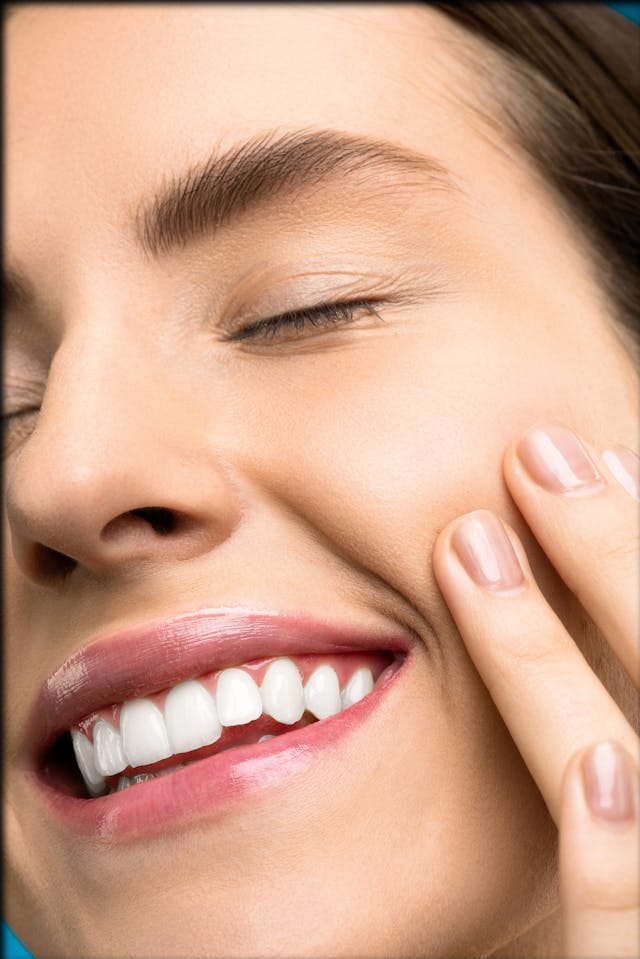
For many individuals, having smooth and soft skin is a top priority. However, this goal can be achieved without spending a fortune. By using common ingredients found in your kitchen, you can make a homemade scrub that will leave your skin feeling revitalized, smooth, and soft. This article will cover the advantages of homemade scrubs, the essential ingredients required, and detailed instructions on creating your own scrub for achieving smooth and soft skin.
Advantages of Making Scrubs at Home
There are numerous advantages to using homemade scrubs instead of store-bought ones. One major benefit is their cost-effectiveness, as they are usually much cheaper to make. Unlike many commercial scrubs which contain expensive ingredients and preservatives that may be damaging to the skin, making your own scrub allows you to have full control over the ingredients used and ultimately save money. Making your own scrubs also allows for complete customization. Whether you have oily, dry, sensitive, or combination skin, you can adjust the ingredients to best suit your skin type and preferences. Moreover, homemade scrubs are typically more sustainable than their commercially-made alternatives. By utilizing natural ingredients without harsh chemicals, you can lower your carbon footprint and lessen your environmental impact.
Homemade Scrubs: Essential Ingredients
There is an abundance of ingredients available for creating a homemade scrub, but not all are equally effective. Below are some essential ingredients commonly used in scrubs for achieving soft and smooth skin:
1. Sugar is a mild exfoliant that assists in removing dead skin cells, unveiling softer and smoother skin. It also acts as a humectant, attracting moisture to the skin.
2. Salt is an excellent exfoliant that can smooth rough skin, improve circulation, and cleanse the skin by removing impurities.
3. Coconut oil serves as a natural moisturizer to nourish and hydrate the skin. Additionally, it is packed with antioxidants that shield the skin from free radical damage.
4. Honey is a natural antibacterial and anti-inflammatory agent that soothes and heals the skin. It also acts as a humectant, locking in moisture to keep the skin hydrated.
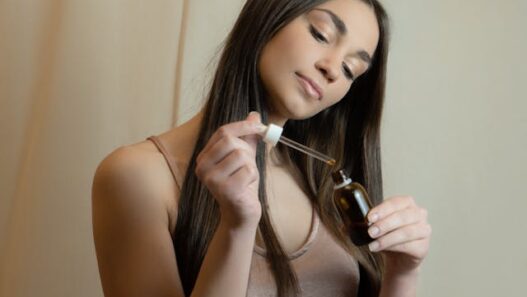
5. Incorporating essential oils into your scrub not only provides a pleasant fragrance but also delivers numerous skin benefits. Lavender oil promotes relaxation and comfort, while peppermint oil revitalizes and energizes the skin.
Creating a DIY Scrub for Silky Smooth Skin
Now that you are aware of the advantages of homemade scrubs and the essential ingredients required, it is time to begin creating your personalized scrub for silky and smooth skin. Just follow these easy steps to craft a lavish scrub that will make your skin feel pampered and refreshed:
Step 1: Select your main ingredient
When making a homemade scrub, start by selecting your preferred base ingredient. Sugar and salt are common choices, but coffee grounds, oatmeal, or ground almonds can also be used. Opt for an ingredient that will exfoliate gently without causing irritation to the skin.
Step 2: Incorporate your moisturizer.
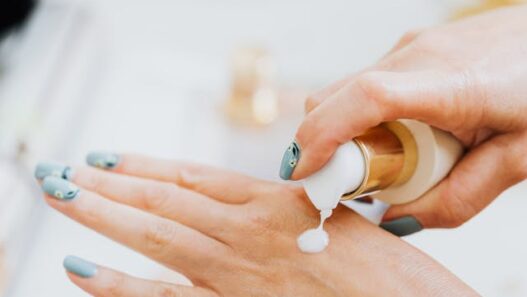
To start, add a moisturizing agent to your scrub. Coconut oil is an excellent choice, or you can try olive oil, almond oil, or jojoba oil. Combine the oil with your main ingredient until you achieve a creamy paste.
Step 3: Add in your additional items
It’s time to personalize your scrub by adding ingredients that will improve your skin. Honey’s antibacterial and moisturizing qualities make it a great choice, while essential oils offer both fragrance and skincare benefits. Get imaginative and try out various ingredient combinations to discover the perfect blend for your skin.
Step 4: Combine all ingredients thoroughly
After adding all the ingredients, thoroughly mix everything together until fully combined. It is important to ensure there are no lumps or clumps in the mixture for a smooth application on your skin.
Step 5: Keep your scrub in storage.
Move your scrub into a fresh, airtight container for safekeeping. Store in a cool, dark area to maintain the quality of the ingredients. The scrub can be used for several weeks, but make sure to inspect for any signs of spoilage before applying.
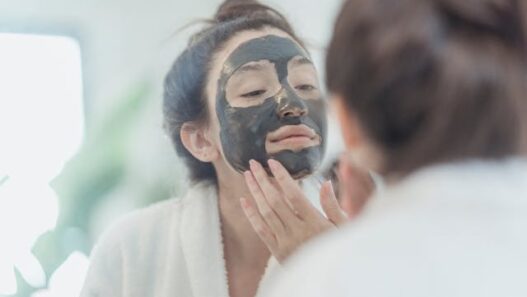
Step 6: Apply the scrub.
To use your DIY scrub, simply apply a small amount to damp skin and gently massage in circular motions. Pay special attention to rough or dry areas like elbows, knees, and feet. Rinse off with warm water and pat skin dry. Finish with a moisturizer to seal in the scrub’s benefits.
Creating your own DIY scrub for silky and velvety skin is an enjoyable and satisfying activity that can assist in achieving the radiant complexion you crave. Utilizing gentle, natural ingredients allows you to exfoliate, hydrate, and indulge your skin in a cost-effective and efficient manner. Collect your supplies, adhere to the instructions provided in this guide, and indulge in a lavish spa-like treatment without leaving your home. Your skin will appreciate the care and attention!